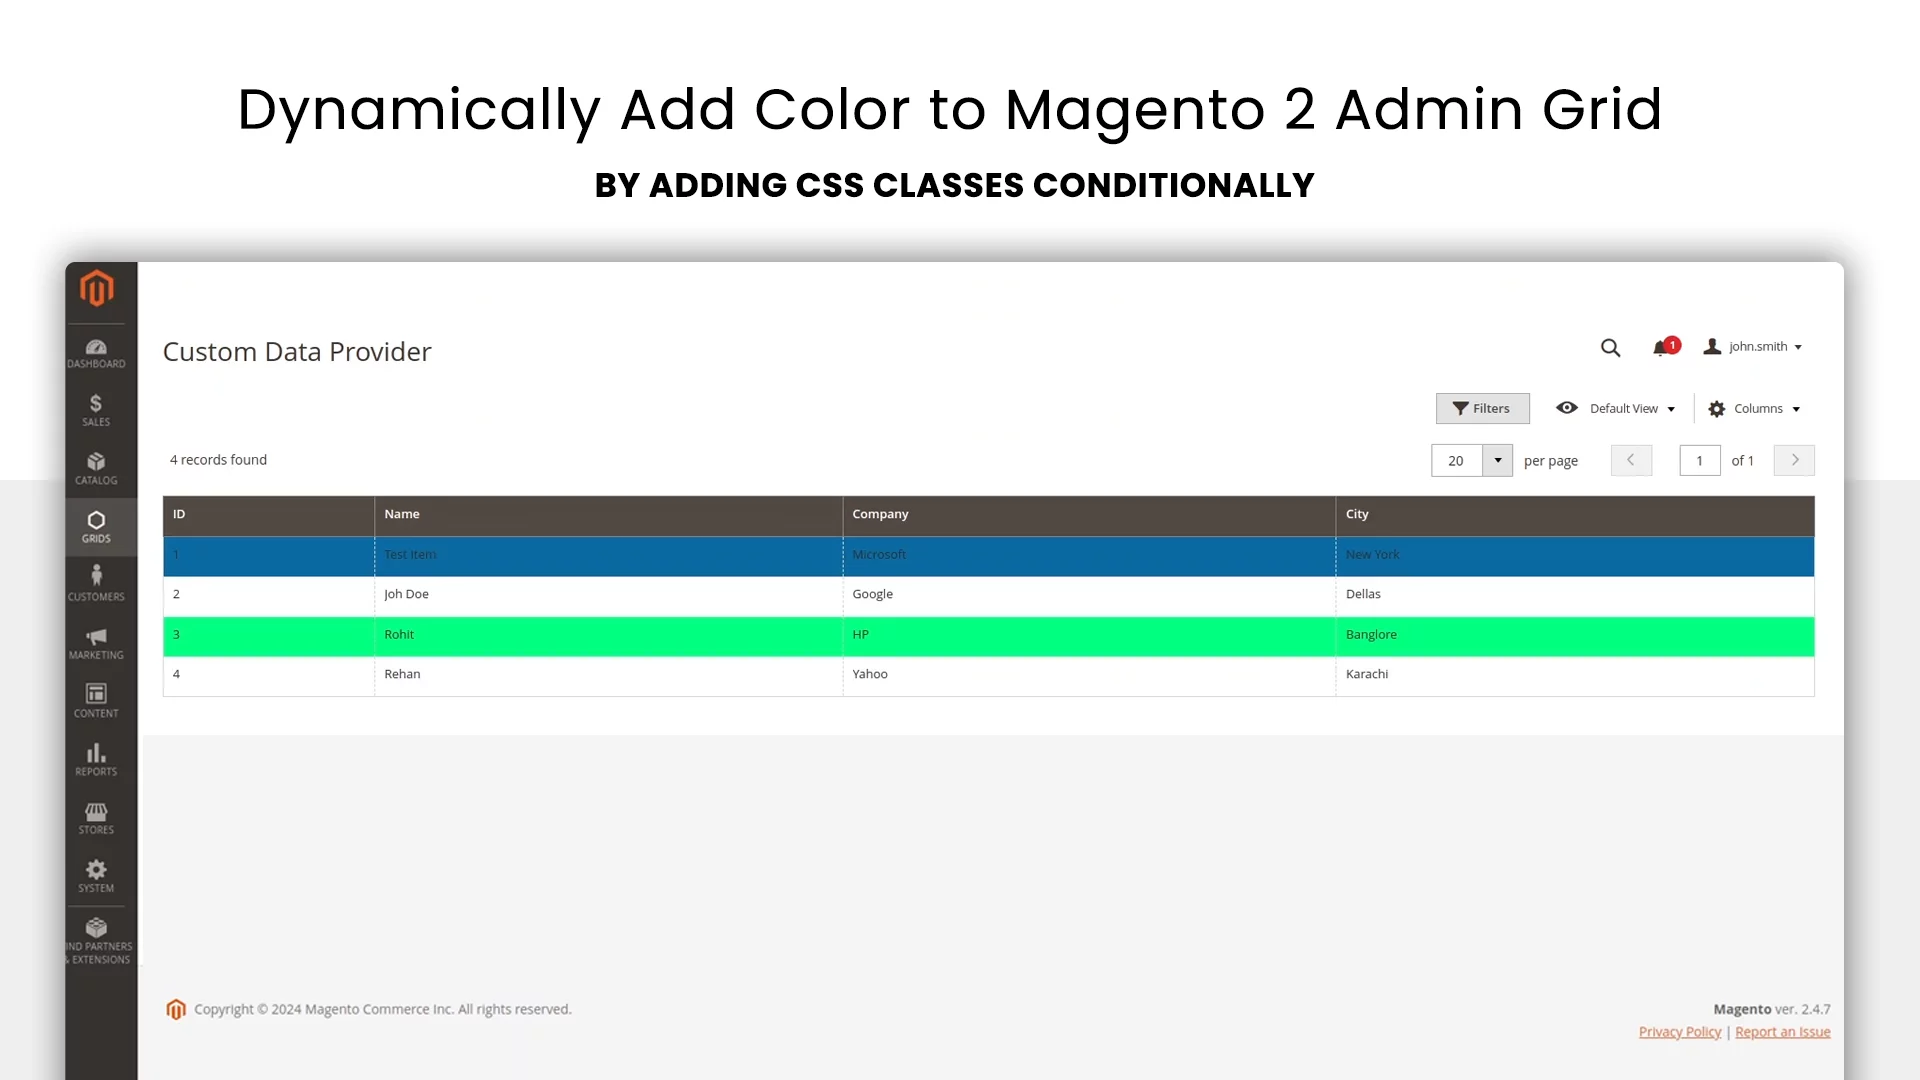
How to add custom styles (Colors and Fonts) to Magento Admin Grid
Customizing the Magento 2 admin grid by adding colors based on specific conditions, such as order status or company name, can significantly enhance usability and readability. In this tutorial, we’ll explore how to add CSS classes to the Magento 2 admin grid, which allows for dynamic styling based on the data in each row. This guide builds on a previous tutorial where we created a custom data provider for the admin grid.
You can download the base module form the below link:
Full Video Walkthrough by CodeWithAli
Extend the Listing Component
To begin, you’ll need to extend the default listing component in Magento 2. Create the listing.js inside view/base/web/js/grid/.
Copy the following code which extends and override the default functionality
Referencing the Listing component
We need to add this XML code to our column structure inside the column component located at view/adminhtml/ui_component/grids_custom_customdataprovider_list.xml.
adding function to listing component
Let’s add some logic for dynamically adding custom class to our listing template.
Creating the template file
Create a new template file named listing.html inside view/base/web/templates/grid
To customize the grid, create a new template file by copying the default template and modifying it to include custom function that we created in the previous step.
Creating less file to add styles
With the classes in place, you can now add custom CSS to style the grid. Create a LESS file under web/css/source/_module.less.
Compile and View Changes
After setting up the CSS and templates, recompile your Magento 2 theme and clear the cache to ensure that the changes are applied correctly.
Debugging Tips
Below are some of the common mistakes that happens while writing the code, so if your code does not work, do checkout the following things
- Ensure all files are correctly placed in the appropriate directories.
- If the classes or styles aren’t applying, double-check the file structure and clear the cache.
- Ensure the file names and paths match those referenced in your JavaScript and template files.
Congratulations! you added an awesome Magento skill in your arsenal
This was just a tip of iceberg of what you can do with this technique. This approach can be customized further based on your specific needs, whether you’re highlighting order statuses, customer information, or any other data. This method works not only for custom admin grids but can also be applied to predefined grids like order or customer grids.
Would you like to share this article?
If you need any assistance regarding Magneto 2 frontend or backend customizations
All Categories
Latest Post
- The Event Loop Trap: Mitigating K8s Probe Failures During CPU-Bound Transforms in N8N
- The Checkpoint Bloat: Mitigating Write-Amplification in LangGraph Postgres Savers
- The Query Cost Cliff: Mitigating Storefront API Throttling in Headless Shopify Flash Sales
- Scaling Enterprise SEO Graphs Without OOM Kills: A Polyglot Architecture Approach
- The Orphaned Job Trap: Recovering Stalled BullMQ Executions in Auto-Scaled N8N Clusters
